Visit our websiite at www.artandsoulpreschool.com

Tuesday, September 25, 2012

Printed Monsters

This is just a fun one left over from summer.  I saw on pinterest a project where you cut the bottom of paper rolls into different designs, and print with them.
Here is the link to the original project:
Pinned Image
 
 
We started off doing prints, but the kids were having so much fun, that unlike these individual prints,
they layered and created a whole new image.


They had a ball making these, and as I looked at them they had so much personality

I thought these would make great monster bodies.
They had been playing monster all morning, so that is probably why the idea came to me. 
So, I decided to take their monster que, and asked them if they would like to make their prints into monsters.  They were more than excited to get started, and the results were hysterical.
 

Monsters in progress


They came out great and they just kept making me laugh, I LOVE the personality
that came out in each of them.


Back to School

Stepping Into A New Year

 
The start of school is always an exciting and tender time for preschoolers
and parents alike.  For many little ones this is the first time they are away from
their parents, and as fun as school is, it always takes a little time to adjust and make those big steps into a school year.


This year to help with making those steps into school, I wanted
to make it easier and fun to enter school.
I thought if the children were preoccupied with the footprints, their anxiety
may be relieved. So...
 
1,2 Welcome to school
3,4 Come in the door
5, 6 Take off shoes and give a kiss
7, 8 School is great
9, 10 Let's jump in
 
We kept this up for a week, so that the kids had something to focus on rather than drop off.
It seemed to work, because most mornings they have been doing just what it said...jumping right in.
 
Another activity we did those first couple days to help the children
feel more at ease in school was read and do a project based on the book
The Kissing Hand by Audrey Penn and illustrated by  Nancy M, Leak
 
 
This is a beautiful story about a reluctant raccoon starting preschool.
In the story the mother raccoon places a kiss in the center of her son's hand and calls it, the "kissing hand," and whenever her son needs to feel his mother's love, he could hold his kissing hand to his face and know he is loved.
 
To help the children out, I read the story and they each received a kissing hand sticker of their own, but we also made our own kissing hands.


After they painted their hands, I placed a heart sticker on their hand, and
I loved seeing the surprised faces they had when they lifted up their hand to find
a heart in the middle of the print.
 
We also started a wall of pictures with their names written on a board in the pictures.
I placed these above the chalk board in school for the children to feel a part of the space.
I also placed them above the chalk board because some of the children are showing interest in writing their names.  This is something I hope for, but I do not pressure them into writing, I feel it should be a natural process so that they do not have resistance to letters and writing down the road.
Having their pictures with their names above the black board gives them the space to practice their names and their friends names on their own and with their own natural inclination.


We have a great year ahead of us!!!

Saturday, September 8, 2012

Water Ways and Marble Runs

 
Alas, the days of summer are coming to an end, however I think our days of water play will continue on for a while.  One of our favorite things this past summer which I wanted to blog about before we start school next week, was creating water ways and marble runs with tubes, PVC pipe and water noodles.  Turkey basters, rain barrels and marbles made there way into the fun as well.

When the children came into the school space, I had placed an assortment of materials
on a table as an invitation to explore.  Immediately they began attaching pipes, picking their favorites and asking questions.  "What are we doing?" "We are going to play with water!" "How can I attach this."
Our exploration started inside before the introduction of water


We then picked a spot to set up our water ways outside.
Once the children were satisfied with their creations,
 I simply tied their constructed water ways up on the deck railing. and the exploring took off.
 
 
Some tested gravity by seeing if they could squirt water up the tubes
 
Others asked for marbles and filled turkey baster bottoms with them to pour down the pipes


Water or marbles, which one will travel faster down the water ways?
Marble soup also became a delectable part of the play.


Our water play continued on for the rest of the summer.
One day while I was helping another child on the swings, I came back to find this construction
which I absolutely thought was brilliant.  The children had connected pool noodles
with the thin plastic tubes and realized they could attach it to the rain barrel.
They then fastened it into an empty water jug.
I was so impressed and in love with this.  It is amazing what they can discover and
create when left to explore together!


Making sure their connections are secure

Monitoring the progress to see if the water will make it into the jug.

Waiting for the the water to journey to the jug.  Will it make it?
It did!
 
I love this type of play.  It incorporates creativity, team work, problem solving, exploring and fun!
The children continued to play with different configurations all summer, often with one group making water ways using the rain barrel and another creating marble runs with the PVC pipes and larger tubes.  It became something we all looked forward to!


Thursday, August 9, 2012

Melted Bead Chimes and Pendants

My mother showed me a great project that she saw in one of the preschools that she works in, they melted beads in plastic Dixie cups to make pins.
I loved the idea, but never got around to doing it.  Then on pinterest I saw sun catchers made from the melted beads, and I was reminded of my mother's project, and well, I just had to do it!

We took the idea of a sun catcher, but added string and attached them to a ring and made chimes.
They have a nice sound and are beautiful in the sunlight.

It is simple to make these.  We took transparent colored pony beads, and made a thin layer in the bottom of a muffin pan.  My daughter decided to separate hers out for a couple solid colored pieces, but most the kids mixed their beads.
It works best if they lay them flat with holes up.
Place them in the oven at 400 degrees and cook for 20 minutes or so.  Take the kids outside to play during this time because of the smell of melting plastic.  When they are done, remove from the oven and continue playing outside until they are cooled off and the smell dissipates.

I have a dremel tool, which the children used with my assistance to drill holes in the melted chime pieces. 

They loved these so much that we decided to do it again making pendants, this time using the process my mother told me about.  Instead of melting the beads right in a pan, use plastic dixie cups or plastic shot glasses.  Place a thin layer of beads in the bottom. 
I then put the cups in the cupcake holders, but you can put them on a cookie sheet.
The fun thing about the cups is that they melt down around the beads making a cool pendant or pin shape.


Again, we worked together to drill the holes with the dremel tool.

I attached a jump ring, and the children beaded a necklace to add to the pendant.
We also did a slip know on the end so that the necklace could be adjusted.


This shirt couldn't have matched better!

The Gak is Back!


Gak is a well loved sensory play item at Art and Soul, but recently we had to make more.  I decided to try a new recipe for Gak this time because I didn't love using Borak, although the children didn't add it in, I like the idea of them making the whole recipe.  Our previous post on gak can be found here: http://artandsoulpreschool.blogspot.com/2012/01/learning-about-molecules-and-making-gak.html

The recipe for our new Gak is simple:
1 Cup Elmer's Glue
1/2-3/4 Liquid Starch
Food Coloring

Add the glue and food coloring to a bowl, and stir.  Next slowly add the liquid starch sirring and eventually kneaded the mixture.  It is amazing how little time it takes for it to transform, and then it is ready for play!

 Adding the glue
 We made two batches so we had different colors.
"The Gak spread and captured the animals"

Friday, August 3, 2012

Puppets!


This is Mr. Puppet Man, he has been a funny part of our lives for a long time.
The other day the kids at school were fighting over him, you see, there is only one Mr. Puppet Man.
Fortunately I had all the materials to make Mr. Puppet Man, and with a quick change in plans, puppet making became our art project and dramatic play for the day. I am writing out the steps in case anyone out there wants to give them a go.  They were great fun and I just love listening to the little puppet shows, voices, and reactions they had when they were playing with them...oh, and there were no arguments!!

Materials needed for this project are:
Glue
Fabric
Markers
Wood beads that are not drilled through all the way
A hot glue gun
A dowel
Cones from yarn (I got mine at a local materials exchange)

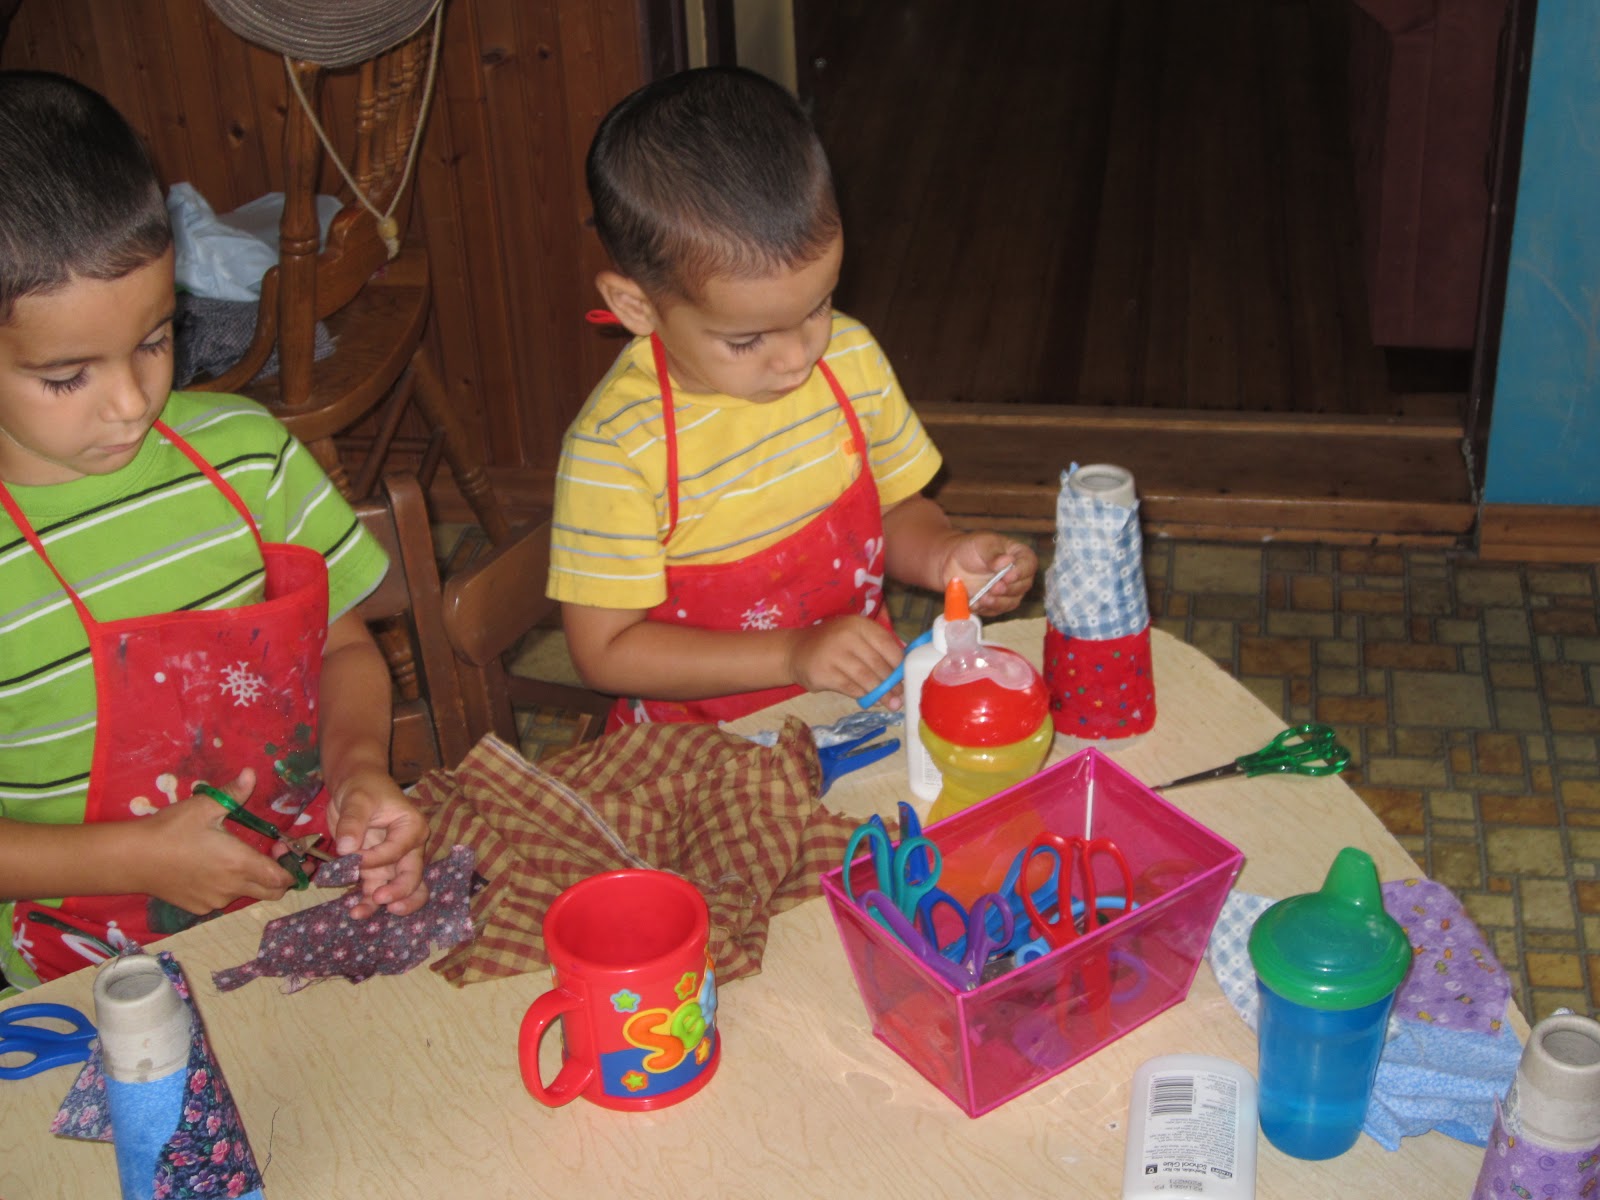
The children first glued on fabric scraps to the cones.


Next they drew faces onto the beads.  I then hot glued the dowels into the heads.
They took a triangle scrap of paper with Elmer's glue in it and made hats
After the head is attached, take two sqaure pieces of fabric.  Place one face down on the table, put a line of hot glue along the top of the fabric, then place the dowel face down on the hot glue and press the second square of fabric down on top of the dowel and glue.  Glue the sides with hot glue, leaving about 1/2 inch.  Then place the dowel down the wide mouth side of the cone, and overlap the fabric on the cone.  Apply hot glue to the cone and glue the fabric around the entire cone.  The kids told me what fabric they wanted and helped position the dowel, but I did the hot gluing.

We then cut out mittens on sticky felt and places them on the corners of the puppet.  You will need one for the front and back because of the adhesive.

The are great fun to have hide and then pop out for peek-a-boo.